This Is How to Take Good Photos When Traveling: So you want to travel the world and capture everything with your More +
Choose the Right Okuma Ceymar Spinning Reel for Your Next Fishing Trip: Are you about to take another fishing trip? If you wish to More +
Final Call for Entries – Travel Photographer of the Year Awards 2019: Calling all travel photographers, wildlife photographers, street and documentary photographers, landscape, people, More +
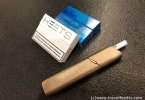
Travel Gadget – IQOS 2.4 Plus e-Cigarette Review: To complete my IQOS collection, I’ve recently bought the IQOS 2.4 Plus, More +
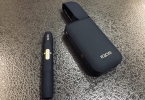
Travel Gadget – IQOS 3.0 e-Cigarette Review: For those of you who has been asking me for the IQOS More +
8 Awesome Tools Every Modern-Day Traveler Needs to Know: Imagine that you’re traveling for business and you lose your luggage. Or, More +
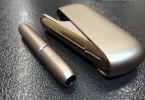
Travel Gadget – IQOS 3.0 Multi Smoke Free e-Cigarette: Ever wonder what Japanese are smoking without lighter when you lit up More +
Travel Photos – Iconic Tokyo Skytree At Night and Dawn: I’ve got a huge backlog of travel photos to clear! Normally, I More +