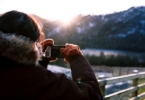
This Is How to Take Good Photos When Traveling: So you want to travel the world and capture everything with your More +
Final Call for Entries – Travel Photographer of the Year Awards 2019: Calling all travel photographers, wildlife photographers, street and documentary photographers, landscape, people, More +
Travel Photos – Iconic Tokyo Skytree At Night and Dawn: I’ve got a huge backlog of travel photos to clear! Normally, I More +
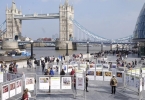
Travel Photographer Of The Year Flies Into London: Free Open-air Exhibition Of World-class Images, March 28 – April 30 We’ve More +
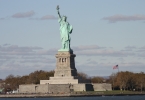
Planning a Group Photo Tour of New York City: New York City is arguably the most famous city in the world. More +
Travel Photographer Of The Year TPOTY 2018 Winners Are Revealed: The winners of the 2018 international Travel Photographer of the Year awards More +
Travel Photographer of the Year 2015: the winners announced: The winner of Travel Photographer of the Year 2015 has been announced More +
Start shooting amazing photos on travels! Travel Photographer of the Year 2015 opens for entries: A piece of significant news for travel photo hobbyists out there. The More +