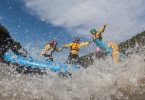
Top Tips for Safe River Rafting: Rafting on a mountain river is a real adrenaline injection, and one More +
Travelling Soon? Read Tips From Sites Like Travel TMI First!: TMI, in this generation’s lingo would mean “Too Much Information.” Ordinarily, it’s More +
Travel In Style: 10 Ways to Enjoy Luxury Vacation: Enjoying a luxury trip in a breathtaking destination is a dream of More +
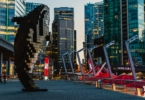
How To Spend A Weekend In Vancouver: The host of the 2010 Olympic Winter Games with a more than More +
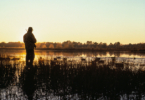
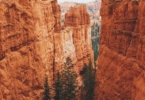
Make the Most Out of Your Visit to Scottsdale, Arizona: With an abundance of lakes, stunning mountain views, architectural delights, vast deserts, More +
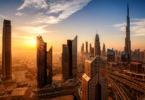
Top Tips for Travelling to Dubai: As one of the fastest-growing cities in the world, Dubai is quickly More +
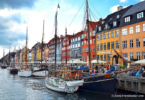
Travel Tips – Plan Your Travel In Europe During Winter: Travelling in Europe during winter If you want to get the most More +